


Look at this adorable 2-year-old!
We were invited to a BALL-THEMED birthday party for this cutie, Ethan, and I had some fabric in my sewing desk that I thought he would love. When he opened his present and saw the balls on the fabric print, he threw the bag up in the air with glee. His mom says he does that with all balls.
Super cute, huh? I made this in less than 2 hours, start to finish (including interruptions by three kids), so I thought it would be a great project to use to write my first tutorial.

I had some long, narrow strips of this fabric, the narrowest being 7", so I had to cut eight panels to get the outer bag and the lining. If you have larger pieces of fabric, you can skip that step. You can even use folded panels of fabric to skip sewing a seam on the bottom edge.
What you will need:
2 - 13.5" strips of fabric, or 3/4 yd
(^you can also cut 4 separate panels from 4 fat quarters)
scraps of coordinating fabric
2 - 3/4" grommets and grommet tool
hammer
2 - strands of rope/cord/straps approx 26" long
(^be sure that two strands of your cord will fit through the opening of your grommet)
Here are my sewn panels for the outside and lining of the bag:
two at 13.5" x 14" for the outside of the bag
and two at 13.5" x 13.5" for the lining
I recommend making the lining just a tad shorter than the outside so it tucks nicely when it's finished.
I also traced two circles of coordinating fabric to make the monogram. You can be creative here and put any kind of emblem on the outside of the bag.

Sew the panels for the bag lining together (right sides touching), around 3 edges, leaving the top open:

Next, pin and sew the monogram or detail patch to the center of the front panel, moving it a little closer to the bottom so it stays flat when the drawstrings are closed:

Next, sew the two panels for the outside of the bag together (right sides touching), around 3 edges leaving the top open. HOWEVER, stop and start your seam about 1.5 or 2 inches from the top edge. This will become the hole for the drawstrings:

Iron the seams open and reinforce the opening by sewing along the edges:

This part is always tricky and easy to mess up, so pay attention before you sew:
Insert the outside of the bag (right side out)
into
the bag lining (wrong side and seams facing out):

Stuff it down in there and match up the side seams. Pin if desired (I usually don't for something this small):

Sew around the top of the bag with a 1/4" seam, being sure to leave several inches open in order to turn the bag.
I also make sure to line up those drawstring openings nicely before sewing over them:

Here is the top of my bag, sewn together with about 6 inches still open. I back-stitched at the beginning and end of that seam, by the way:

Time to flip the bag right side out. It looks like this now:

There are those drawstring holes!

Now plunge that lining into the inside of the bag. Press or smooth out the top edge and be sure the fabric sits smoothly together at the opening you left.
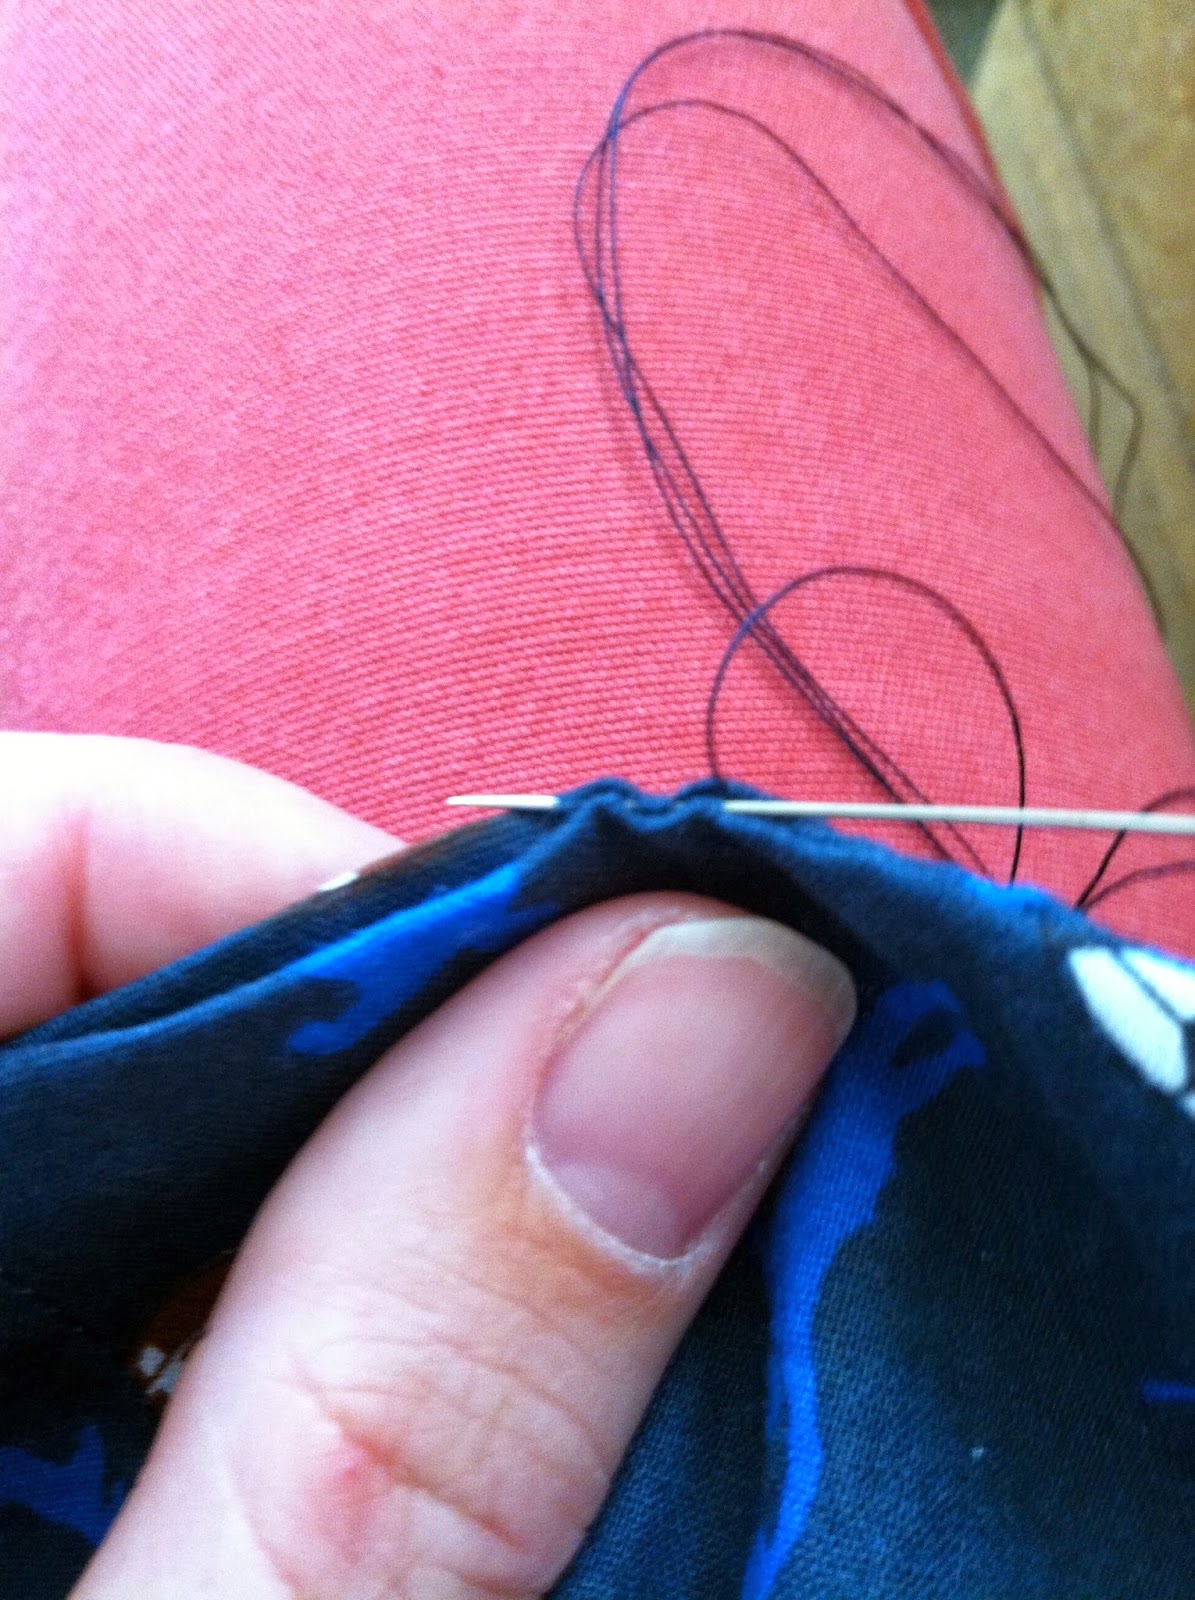
Using a hidden stitch or slip stitch, close up the opening:
There you have it:

You can see we're almost finished!

I like to do the bottom corners with grommets so you don't have to sew your rope/string into the seams of the backpack. I used 3/4" grommets. There is one more tool not pictured here that looks like a large, fat coin with a circle-shaped depression. That piece got lost by my kiddos, but it still works fine without. Does anyone else think of "Cracking toast, Gromit!" when they see grommets? No? ... Well, now you will.

Sew a seam to block off a small triangle on both bottom corners. NOTE: Be sure your lining is pulled up out of the way before you sew this. And back-stitch for stability:
Apply grommets to the center of each triangle -- sorry, not pictured.

You could use a coordinating thread. I kind of like to see some seams on something homemade, and for our purposes it shows you better where I've sewn.
Next put a few reinforcing stitches across the top of the drawstring holes. I've seen some people sew a button hole here. That is an option too. I'm not great at button holes and my machine doesn't have an automatic setting for making a button hole, so this is faster and easier for me.

Stitch around the the entire bag at a seam allowance that will match up with the bottom of your drawstring holes. You can use a little piece of tape to mark a guideline on your machine if you'd like.

Sorry a few of these pictures are blurry. I was sewing fast and only took one photo of each step. Come on, it's my first tutorial. Cut me some slack. ;)

Measure two long pieces of cord/rope. Mine were 26 inches. Each one will be threaded through the bag from opposite sides. So the first one starts in the right hole, travels in a full circle around the bag, and comes out of the right hole again. The other starts in the left and comes back out of the left.
Feed the loose ends through the grommets and tie a good knot:

BAM! You're done. Here's what it looks like open:

And here's what it looks like best of all: on the kid you made it for.

We love our ball "e" bag! A Jamie original we will have, use and play with for a long time. :)
ReplyDelete