
I have always loved this scripture from the Book of Mormon, found in Moroni 7:45:
"And charity suffereth long, and is kind, and envieth not, and is not puffed up, seeketh not her own, is not easily provoked, thinketh no evil, and rejoiceth not in iniquity but rejoiceth in the truth, beareth all things, believeth all things, hopeth all things, endureth all things."
I was trying to come up with a fun quilting project to hang in a display nook in my home where we keep our board games. I thought, "Why not have something to remind me of one of my favorite scriptures?" I changed the words from the scriptural context of "thinketh" and "hopeth" to the more conversational context of "think" and "hope", etc.
I thought it would be really cool if I could take the components of this scripture, and arrange them so that the letters within the lines of text could spell out CHARITY. After a little fiddling around, This is what I came up with, "CHARITY" being capitalized and in red:

Next, I measured my nook opening and decided on a size. I also had this opportunity to try out my batting tape. This is a handy-dandy iron-on tape you can use to fuse scraps of batting together to desired size.

This is how it looked after I joined a few blocks of batting together:

I chose some coordinating fabrics, and used a water-soluble marker (and my opaque projector) to trace the words directly onto the fabric background. The bigger CHARITY letters were cut out as appliques from a contrasting fabric. I simply used a bit of Elmer's school glue to tack them down.

Now I began in the center, and used my free-motion quilting foot with dark thread that would show up against the bright background. I simply traced the letters with my free-motion quilting, going over each one two or three times to get it to stand out. I also reinforced the CHARITY appliques by stitching around the edges of each letter as well, to tack them down.

When I was finished with the lettering, I added some bands/borders of coordinating fabric to the top and bottom of my wall-hanging. I switched thread colors to a light grey and did an all-over free-motion quilting design of flowers, differing the size and petal shape as I went.

Here's a closer look at the quilting design:

Next, I cut 2 1/2 inch strips of coordinating fabrics and sewed them together at a 45 degree angle, as shown.

This is my attempt to demonstrate how to bind a quilt. I do all of my quilt bindings the same way.

After you've sewn two strips together, make sure they open up to form one continuous strip:

Then trim the seam allowance to 1/4 inch

Press the seam open:

Here is what your binding strips will look like:

You want enough to go around the entire circumference of your quilt, plus about 15 inches. My example didn't have quite that much extra, so things got kind of tight when I was joining the final seam.
The other preparation for your binding strips is to fold the entire strip in half lengthwise and press. Now it looks somewhat like bias tape:

Trim the quilt sandwich so all the edges are clean and square:

Here I threw in an extra step to make this quilt hangable. I cut these 2-inch sections of binding strips and sewed them along the open edges to form 4 small tubes of fabric.

I turned them right side out and pressed the seams down flat in the center:

The next step is to secure your bias tape (binding strips) all the way around your quilt sandwich, using a 1/4 inch seam. Line up the raw/open edges of the folded strip with the raw edges of the quilt. My little hanging loops went on each of the 4 corners, an inch or so from the edge, between the quilt and the binding. It will make sense once you see the next few steps, if it confusing now...
The other important thing to mention is that you will not sew the entire border, but leave about 7-8 inches of loose strip on either end, and stop stitching about 10 inches from your starting point.

Sewing around the borders at a 1/4 seam allowance:

Zip-a-dee-doo-da!

I don't know why I took so many pictures of this step, but oh well:

When you get to a corner, you want to miter your edges. So, about 1/4 inch before you reach the bottom of the quilt, stop your needle and then pivot and sew off the quilt at an angle, like so:

Next, pull the strip at a 90 degree angle AWAY from the direction you will continue sewing:

Holding that small folded triangle of strip in place, bring the whole strip back across itself, in the direction that you will continue sewing. See how the fold is still there?

Now re-orient your quilt so you are ready to begin sewing in the next direction. It never hurts to backstitch on this seam, as you start. Make sure you're holding your mitered corner in place as you folded it and use a 1/4 inch seam, as usual:

That's what it looks like after you've sewn it:

And now more pictures of the sewing... You might be able to see where I pinned one of my hanging loops just above my thumb in the next picture:

There's a close up of my hanging loop pinned in between the quilt and binding. It also shows how I have prepared to miter the next corner. I stitched off my quilt at an angle, just before reaching the bottom:

I didn't remember saving all these pictures (I uploaded them a few months ago!) but here is another look at the folding process: 90-degree angle outward...

Then folded back over itself, to run flush with the next side of the quilt to be bound:

It looks like this when you leave the open space for joining the final seam of the binding strips. My mistake was actually that I only left about 6 inches of open space between the start and end of my seams. It was quite a hassle to get things to lie flat was I tried to finish the binding.

Anyway, the next thing I do is lay the straps smoothly along the edge of the quilt, one stacked on top of the other:

Next I take a water-soluble or disappearing ink marker and make a line on the folded edge where the two strips should meet. (Shown in purple):

Here's another view of the markings. Just be sure the markings line up when the strips are pulled totally flat, otherwise you may end up with slack and a wrinkle in your binding.

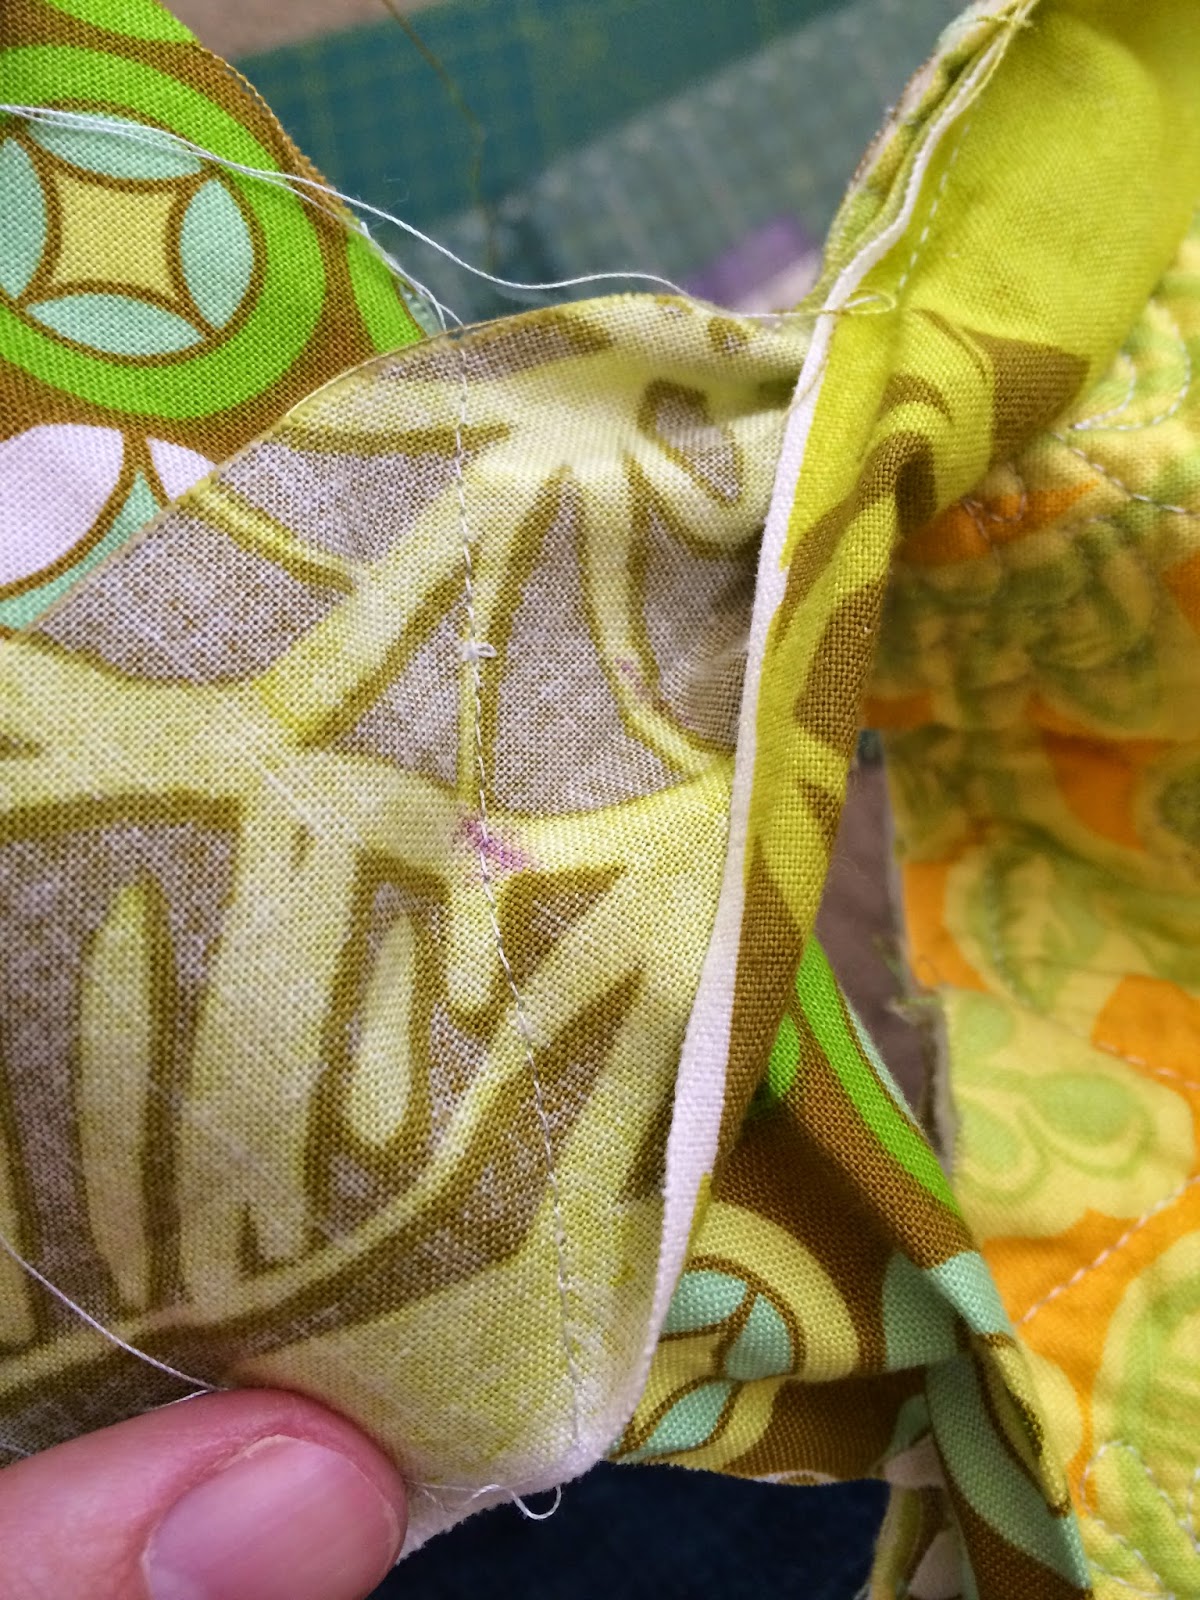
Next, I open up the strip and draw a little circle in the middle of the fold where my line was. You might see two marks here because I messed up the first time I was marking. You want your marks to be centered between the stop and start of your seam, so you have room to maneuver the fabric. Like I said before, mine is not the best example, as you can see my mark is still only a few inches away from my seam:

Here I'm pointing to the 'correct' mark. This is the one I want to line up with the other side when I join my last two strips. The method will be the same as I showed originally.

Next, I open the other strip as well. I place to the two strips, right sides together, at a 90 degree angle to each other. I will then sew a diagonal line from corner to corner, which ends up being a 45 degree angle on the strip. The purple center dots should be touching one another on the two strips. I drew a dotted line to guide myself:

I wish this step was easier to see, but like I said, I didn't leave a lot of space. So, here are the two strips, joined right sides together and a 90 degree angle, and then sewn at a 45 degree angle. On the right half of the picture, you are looking at the back of my quilt.

Here's another attempt to show you what it should look like, from the front:

And one more close up:
Now I have trimmed the excess at a 1/4 inch seam allowance:

When you let go, your strip should naturally want to fold itself again, and it will have a nice bias-joined seam now, running diagonally:

Press it down and then you can finish the seam to stitch the remainder of the binding to the quilt.

This is how my mini quilt looked with all of the front-side sewing completed. Notice the hanging loops are just sticking up from the corners. They aren't loops until I move to the hand-sewing portion.

Some people like to machine bind the back of the quilt as well, but I prefer the look and cleanliness of hand stitching. So now, you just wrap the binding around to the other side of the quilt and use a hidden stitch to tack it down to the back of your quilt.

To form the hanging loops, I just wrapped the hanging 'strap' around and tucked the end under the binding on the back of the quilt. I secured it with hand stitching as well.

Here's another look at it before I sewed anything:

And this is me hand sewing. I just run my needle parallel to the edge of the binding, just behind the fold, and catch just one layer of fabric from the binding, then the quilt back, then the binding, alternating. This part goes pretty quickly, and can be done while you listen to an audiobook or a movie, or the radio, or nothing:

When you get to a corner, you fold the edge like so, to also get the mitered effect:

See how nicely my stitches are hidden? I like that clean look:

Here it is all finished, ready to hang!

Luckily I had a skinny tension rod. If I did this again, I would measure those little hanging strips I made beforehand to make sure they would be roomy enough to slide a rod through. It was a close call, but it barely fit:

After the rod is inserted through both loops, replace the endcap:

Here is the display nook in our house that I wanted to make something cute to cover up:

I am very happy with the result! I hope the binding tutorial was helpful. This is a fun little project, and a great way to use up scraps of fabric or batting, as well as practice techniques like free-motion quilting and binding. Thanks for reading!
